Home Page Benefits Section
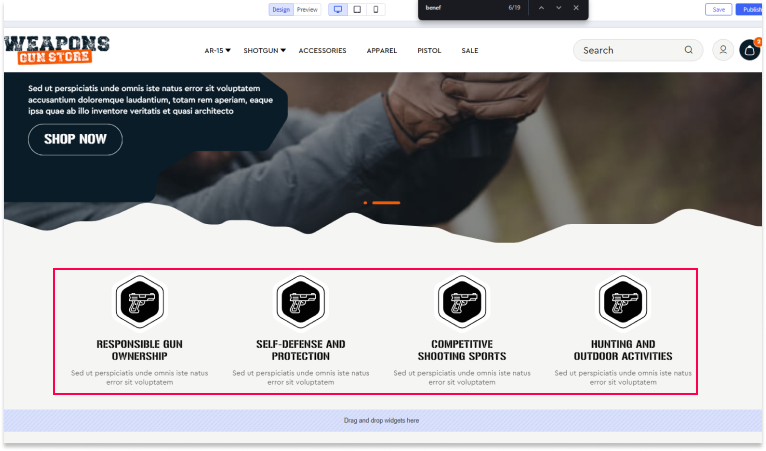
Show Benefits Section
To display the Benefits section on your home page:
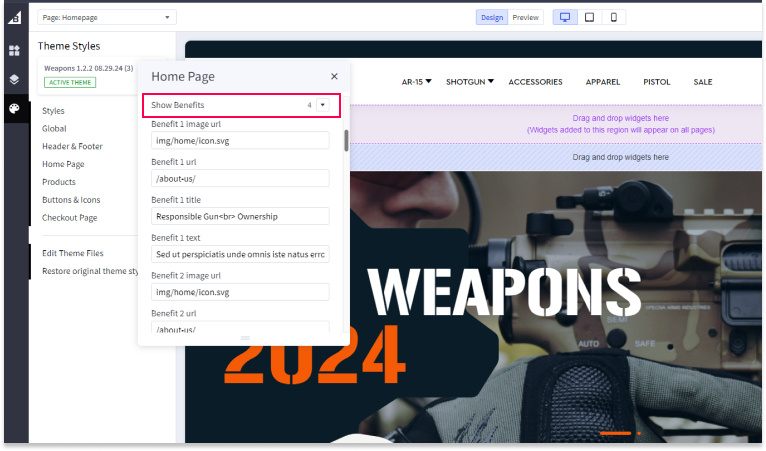
- Go to Storefront > Theme > Customize > Theme Styles > Home Page > Benefits.
- Select the number of benefits you want to show. You can create up to 4 subsections within this area.
Create images for all of your store's benefits. The recommended size is 150px by 150px.
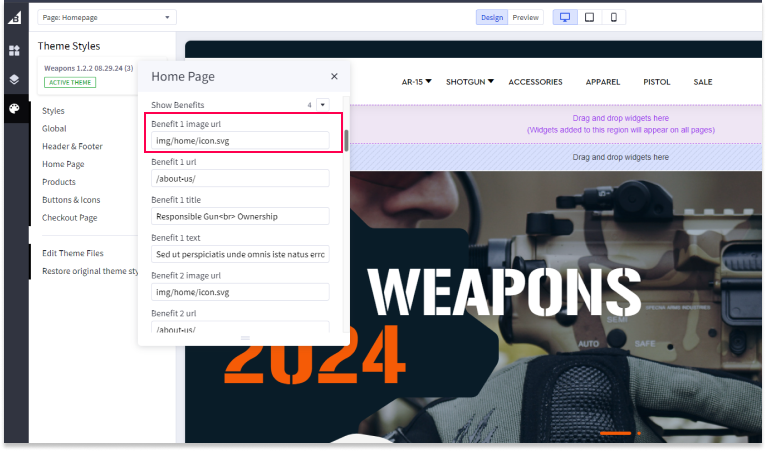
Benefit 1 Image URL
To set the image for the 1st benefit:
- Enter the image URL for the 1st benefit in the "Benefit 1 Image URL" field.
Benefit 1 URL
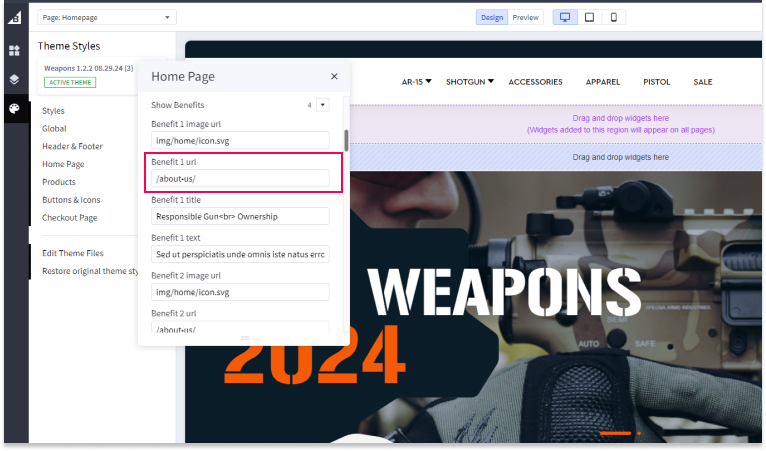
To set the link for the 1st benefit:
- Enter the URL you want this section to link to in the "Benefit 1 URL" field (e.g., "/about-us/").
Benefit 1 Title
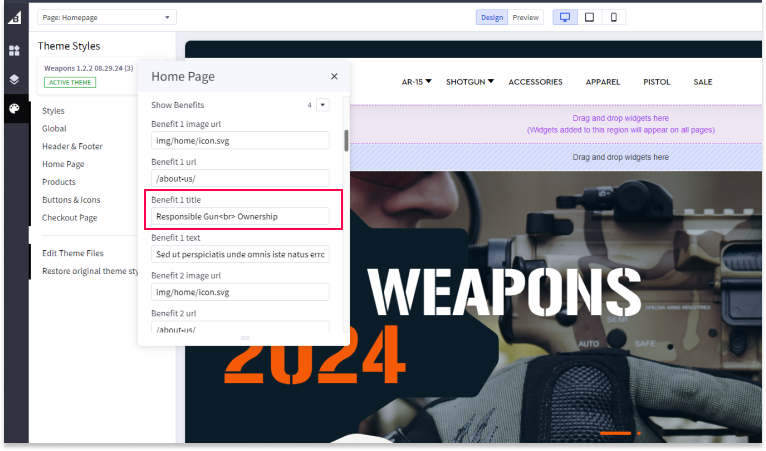
To set the title for the 1st benefit:
- Enter the title for the 1st section in the "Benefit 1 Title" field (e.g., "Responsible Gun
Ownership").
Benefit 1 Text
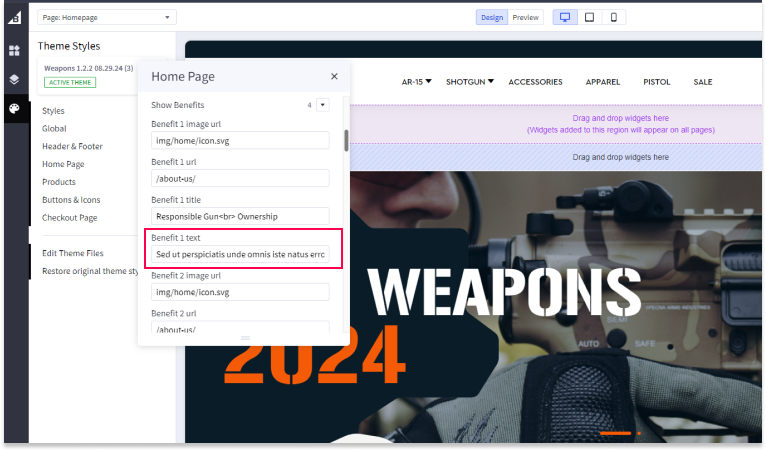
To set the text for the 1st benefit:
- Enter the text for the 1st section in the "Benefit 1 Text" field (e.g., "Sed ut perspiciatis unde omnis iste natus error sit voluptatem accusantium doloremque").
Repeat for All Benefits
Repeat the above steps for all benefits you want to display on your store (up to 4).
Under "Benefits image width" and "Benefits image height", enter the dimensions for the images you created. All images for benefits should be the same size.
Save and Publish
After making all your settings changes, be sure to save your theme and publish it to apply the changes to your live site.

